How to Digitize an SVG for Embroidery
An SVG is a good starting point for an embroidery design, and can be exported from platforms like Canva or Figma. Unfortunately, an SVG can’t go straight to your machine. Usually the file only describes shapes and colors, so you still have to decide how each one gets stitched.
This tutorial walks through how I turn an SVG into a stitched design in Stitch Studio, using a small mushroom. The principles work for most simple SVGs, especially flat icons and logos.
I would say if I were to do this again, I’d add a border and make the patch a bit bigger, so if you try this at home, you may want to make those adjustments.
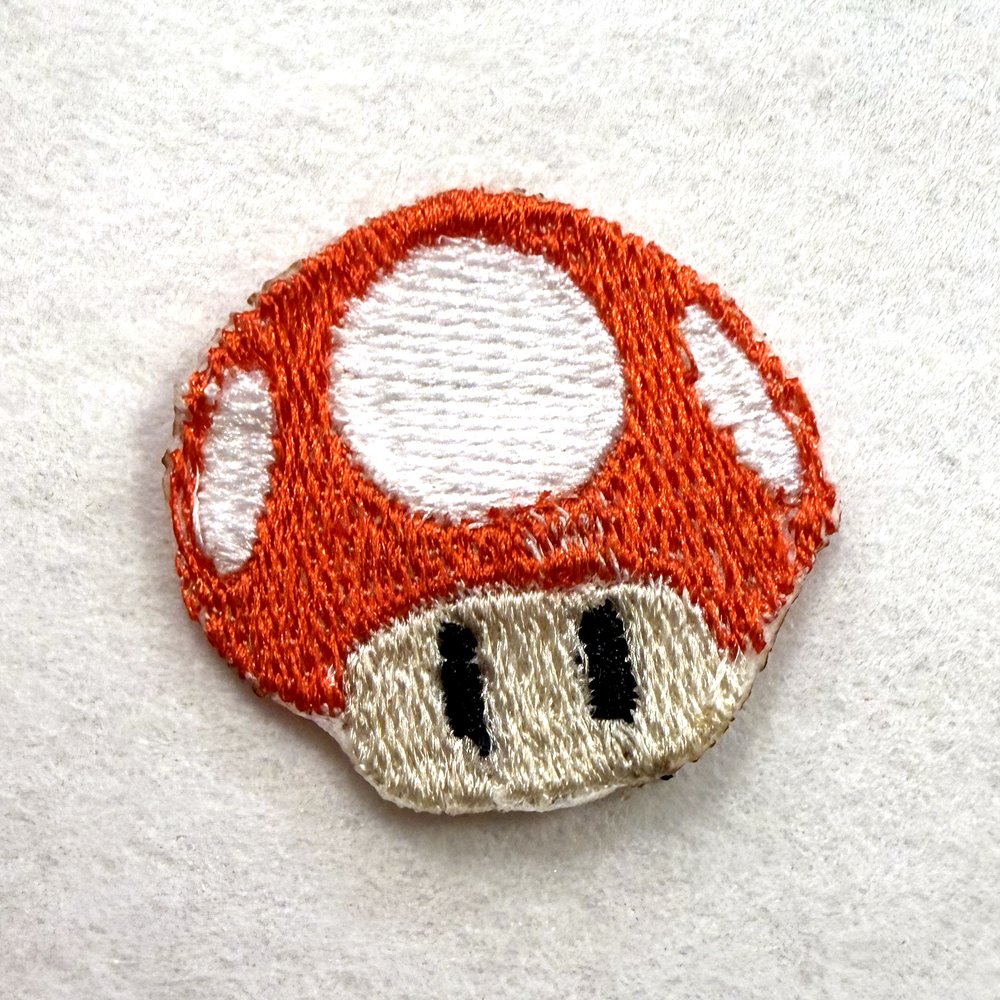
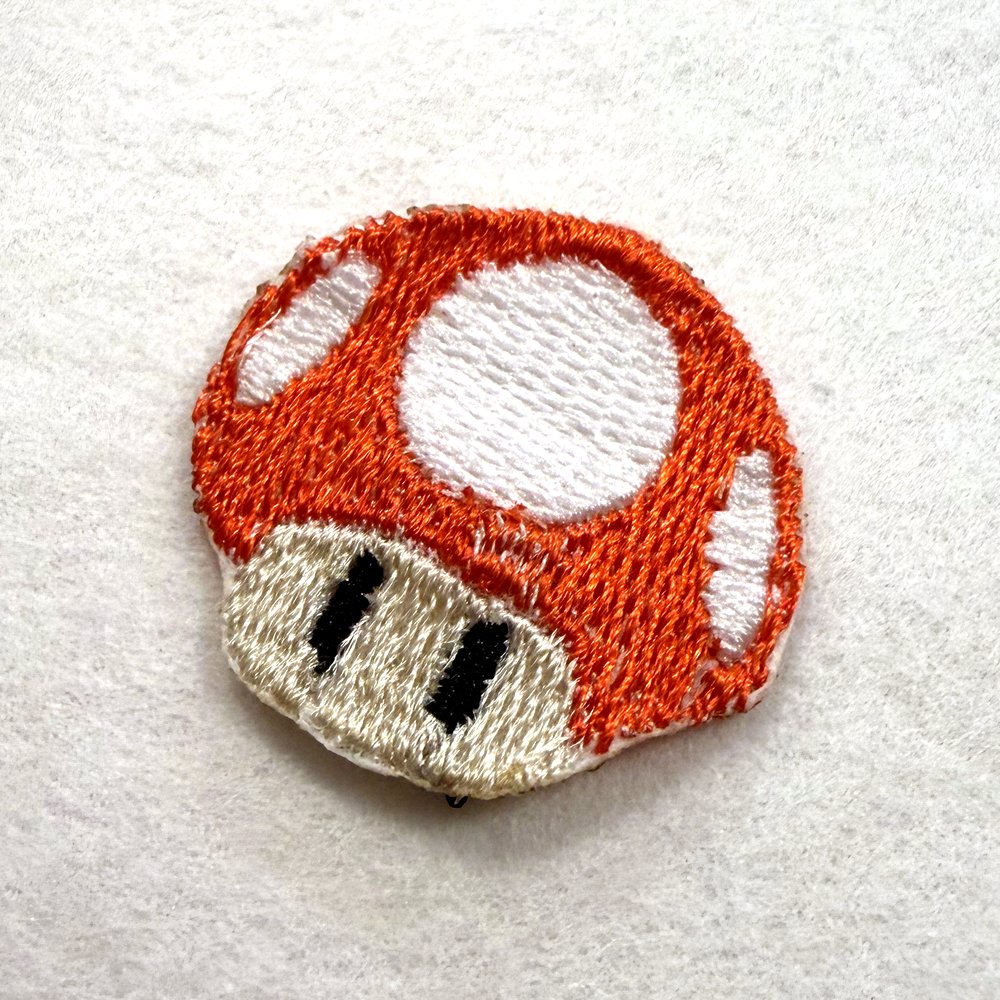
I built this design with Stitch Studio.
Digitizing the SVG
1. Import the SVG
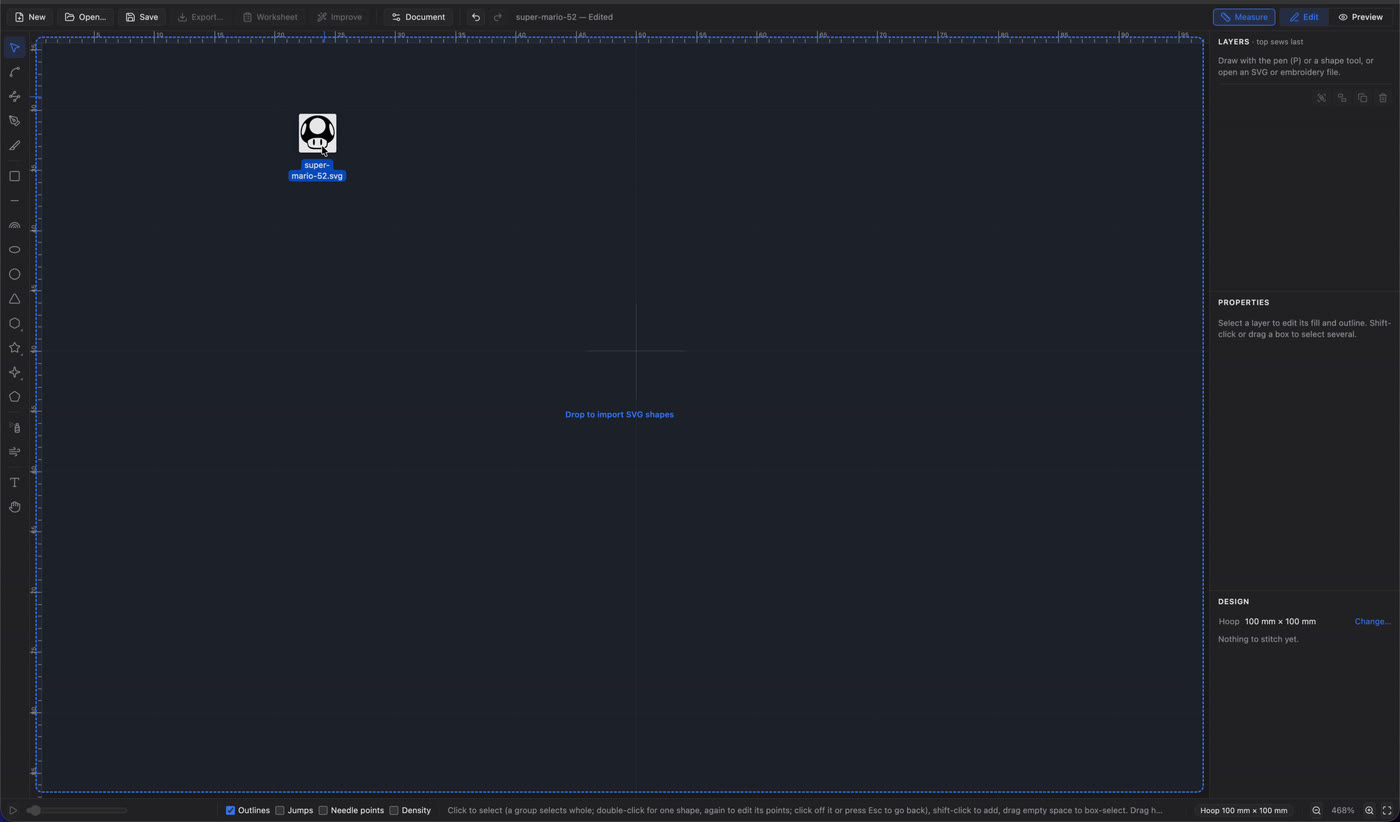
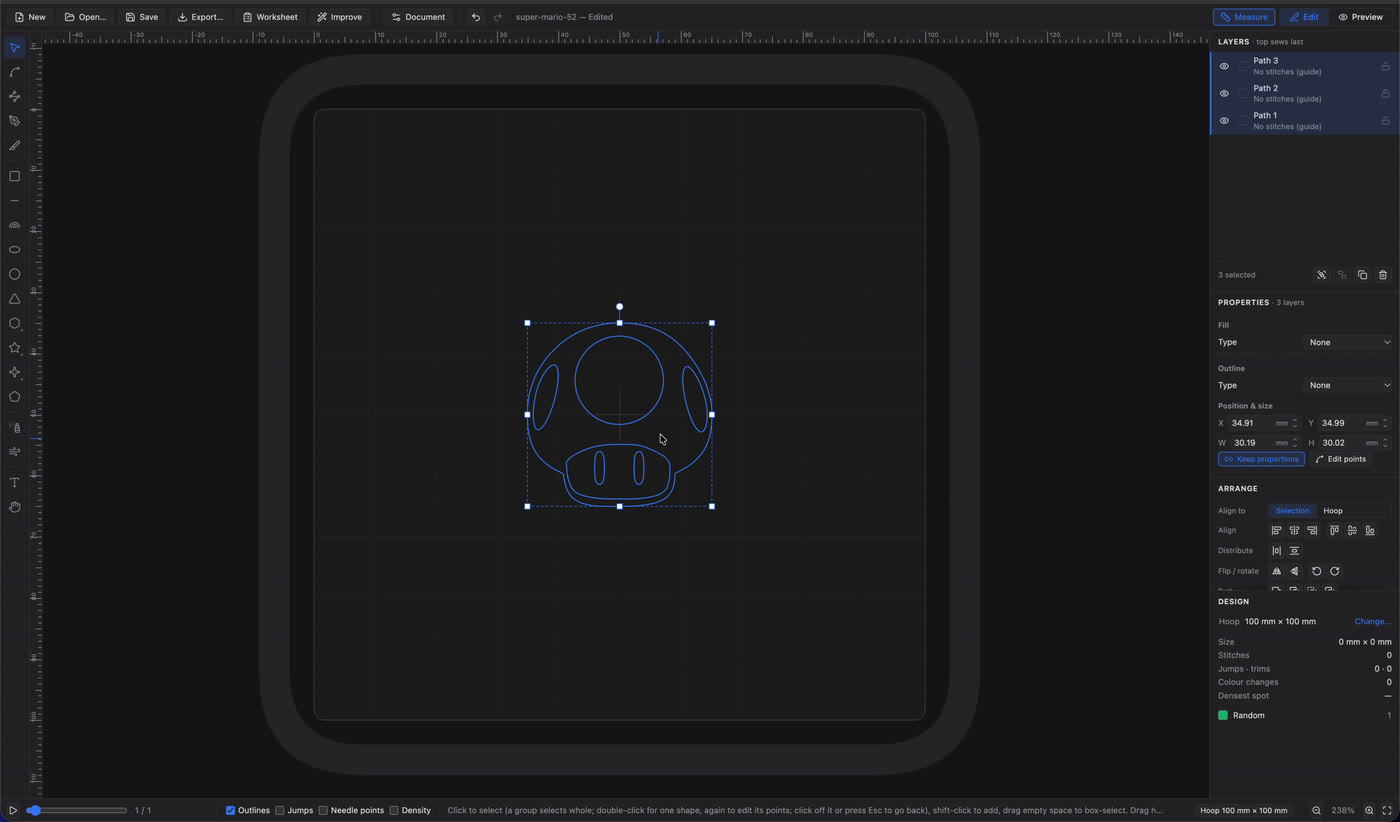
Drag your SVG file onto the Stitch Studio canvas. Each shape in the file becomes its own layer.
The new layers say “No stitches (guide)” because nothing has a fill yet. They’re outlines we get to assign stitches to.
2. Scale and center it
SVGs often import much larger than you want. Select all of the layers, scale them down to the size you want to stitch, and center them in the hoop. Mine is about 30 mm wide.
It’s best to do this first, because every stitch setting after this depends on the final size.
3. Cut apart shapes that are joined
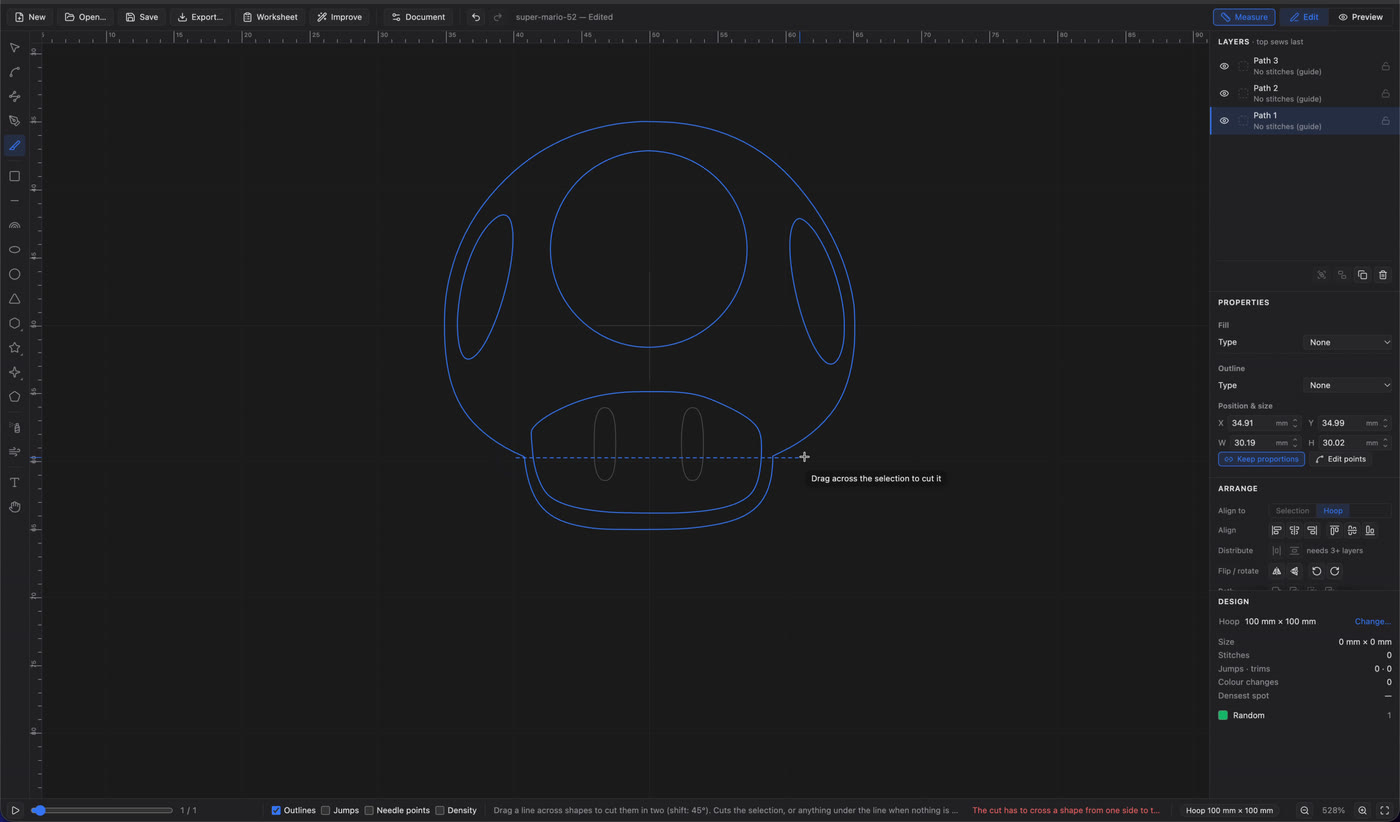
The shapes in an SVG aren’t always split up the way you want to stitch them. Here the cap and the base of the stem were one shape, so I picked the Knife tool and dragged across the shape to cut it in two.
4. Fill the cap
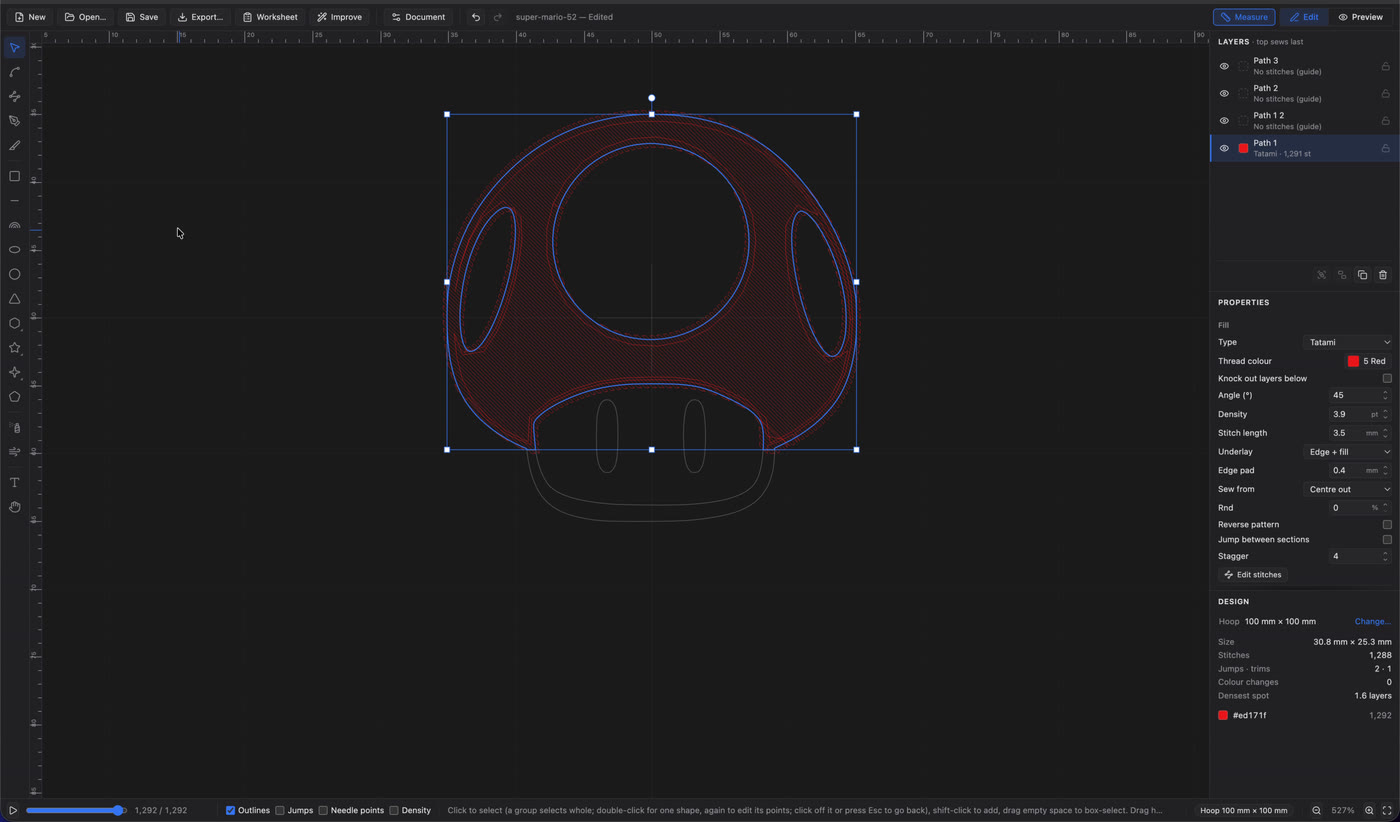
Select the cap and change its fill type from None to Tatami. Then click the thread color and choose red from the thread list.
5. Add the top spot
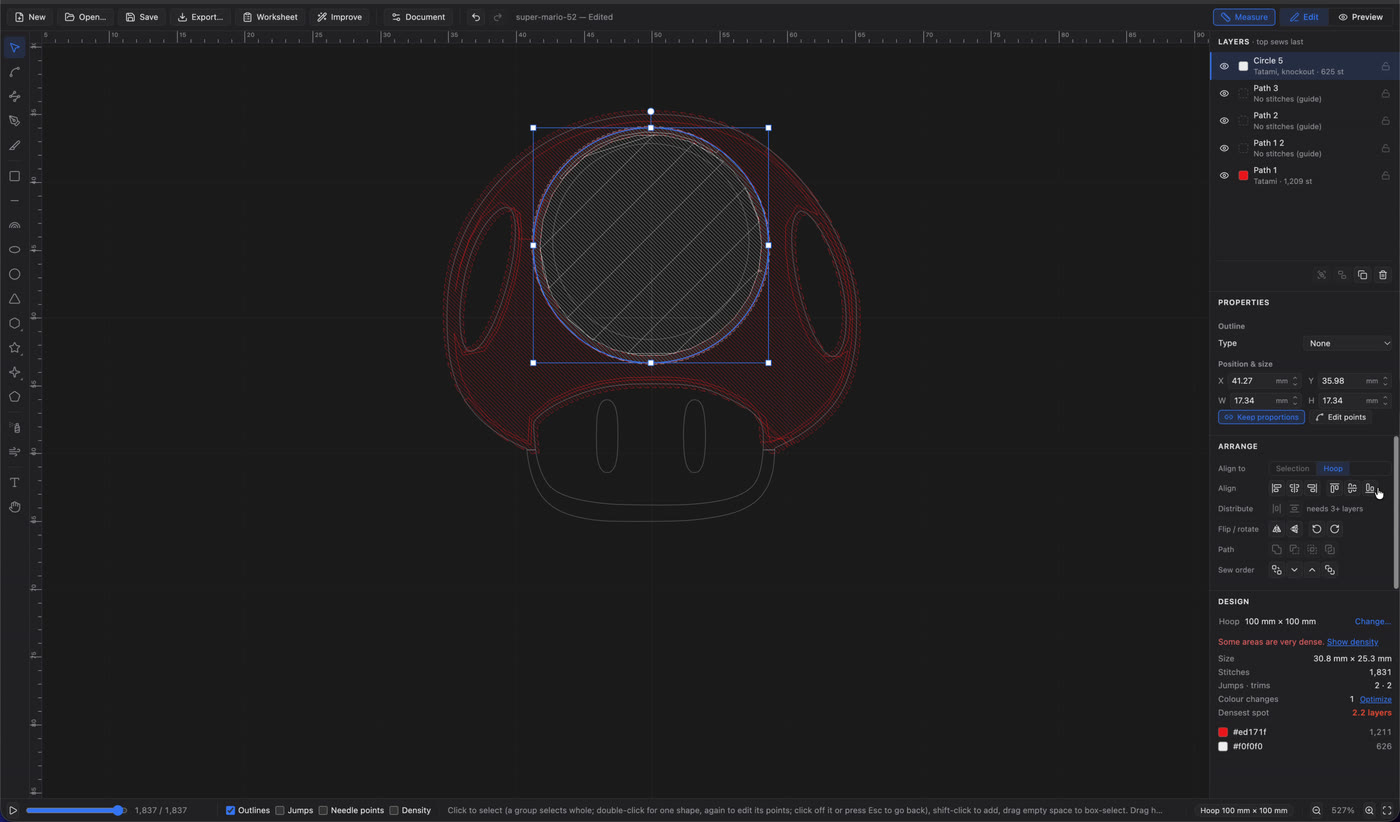
The white spots are holes in the red cap, so they need their own stitches. Pick the Circle tool and draw a circle a little larger than the top spot, then line it up with the guides and set it to white.
The extra size lets the red overlap the white, so no gap opens up between them. Send the circle backward in the layers so that it sews before the red.
6. Add the side spots
Duplicate the white circle, then squash and rotate the copy to fit the spot on the left. Send it back behind the red as well.
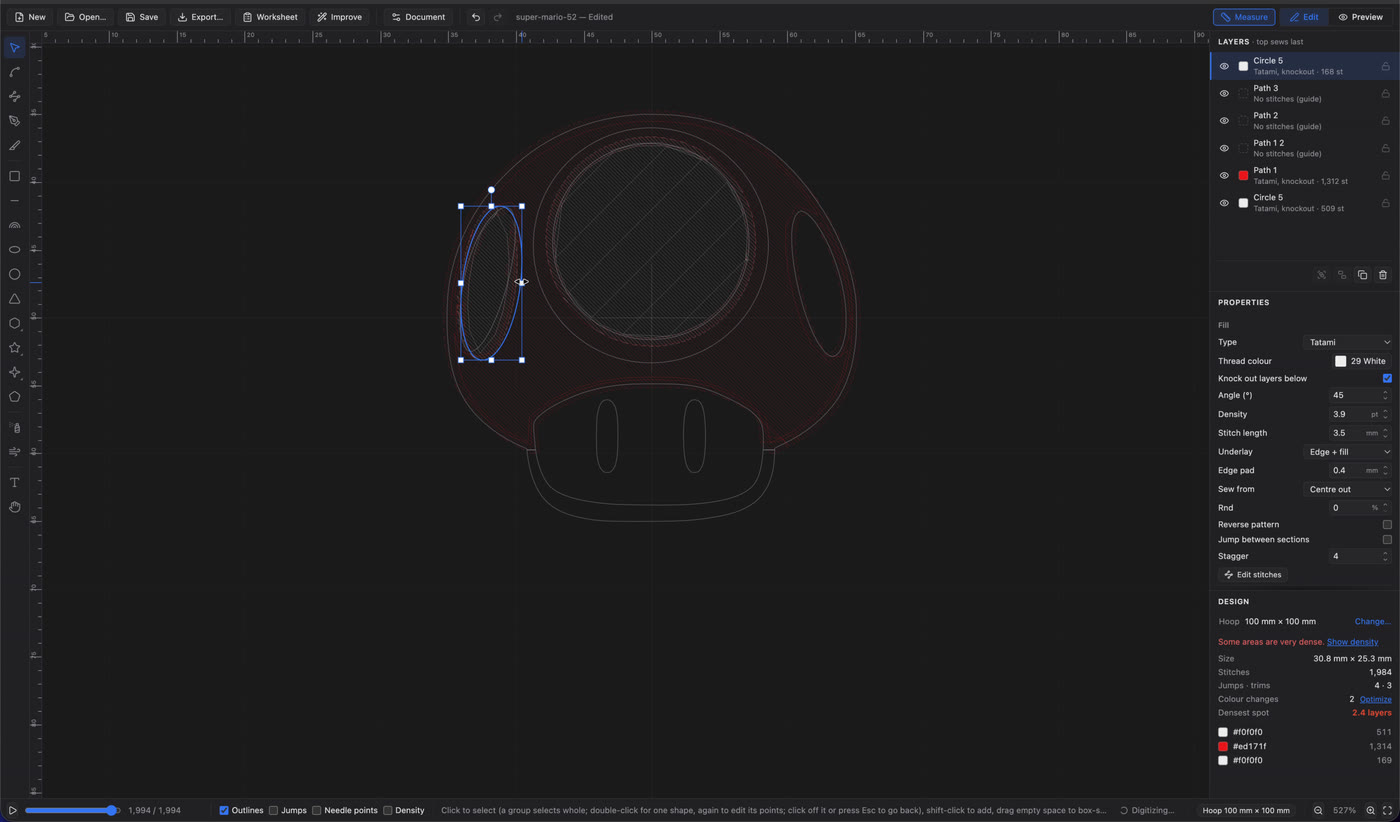
Duplicate that one for the spot on the right, then group the spots to keep the layers tidy.
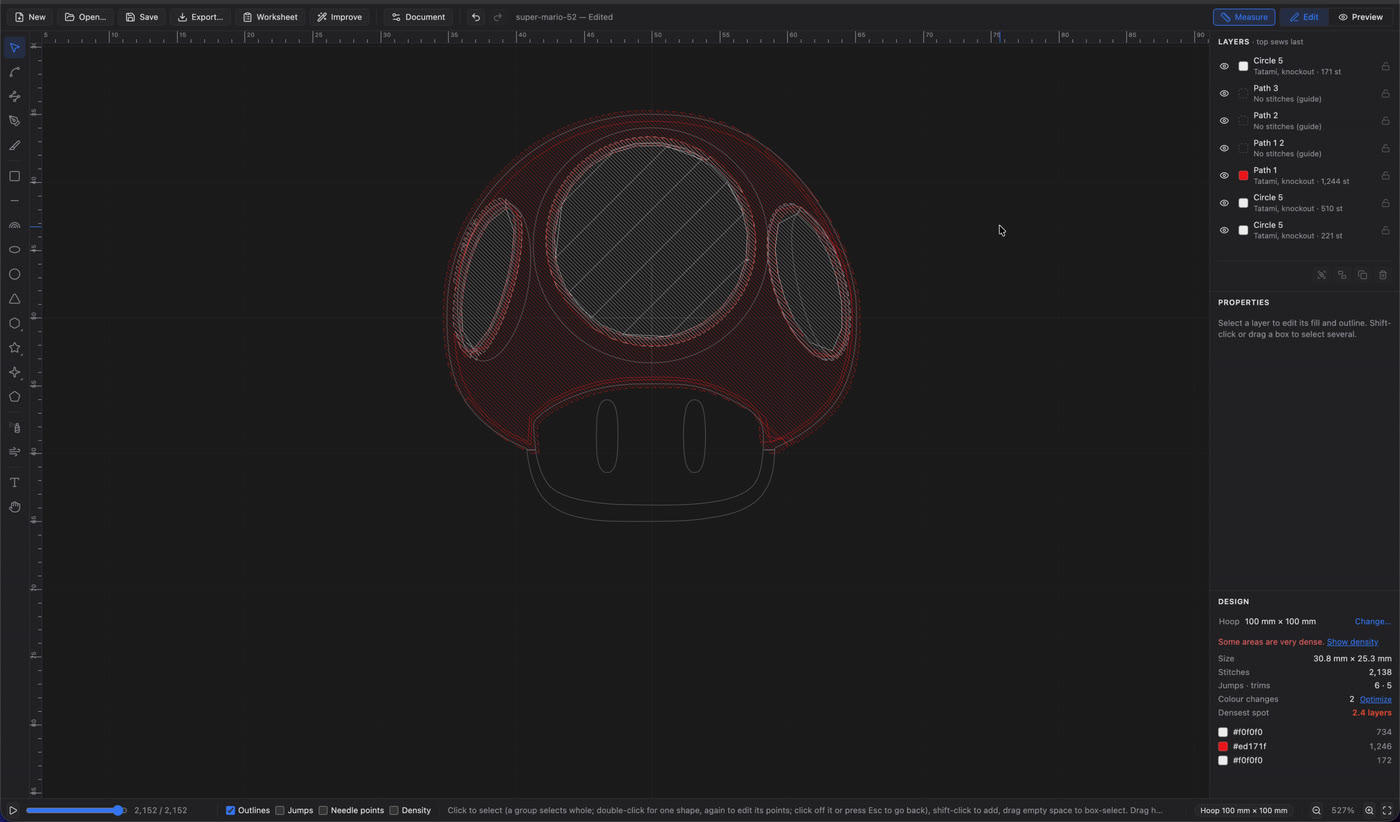
7. Change the stitch angles
Every fill starts at the same 45° angle. Giving neighboring areas different angles helps them stand out from each other once they’re sewn, so I set the white spots to 0° and the red cap to 90°.
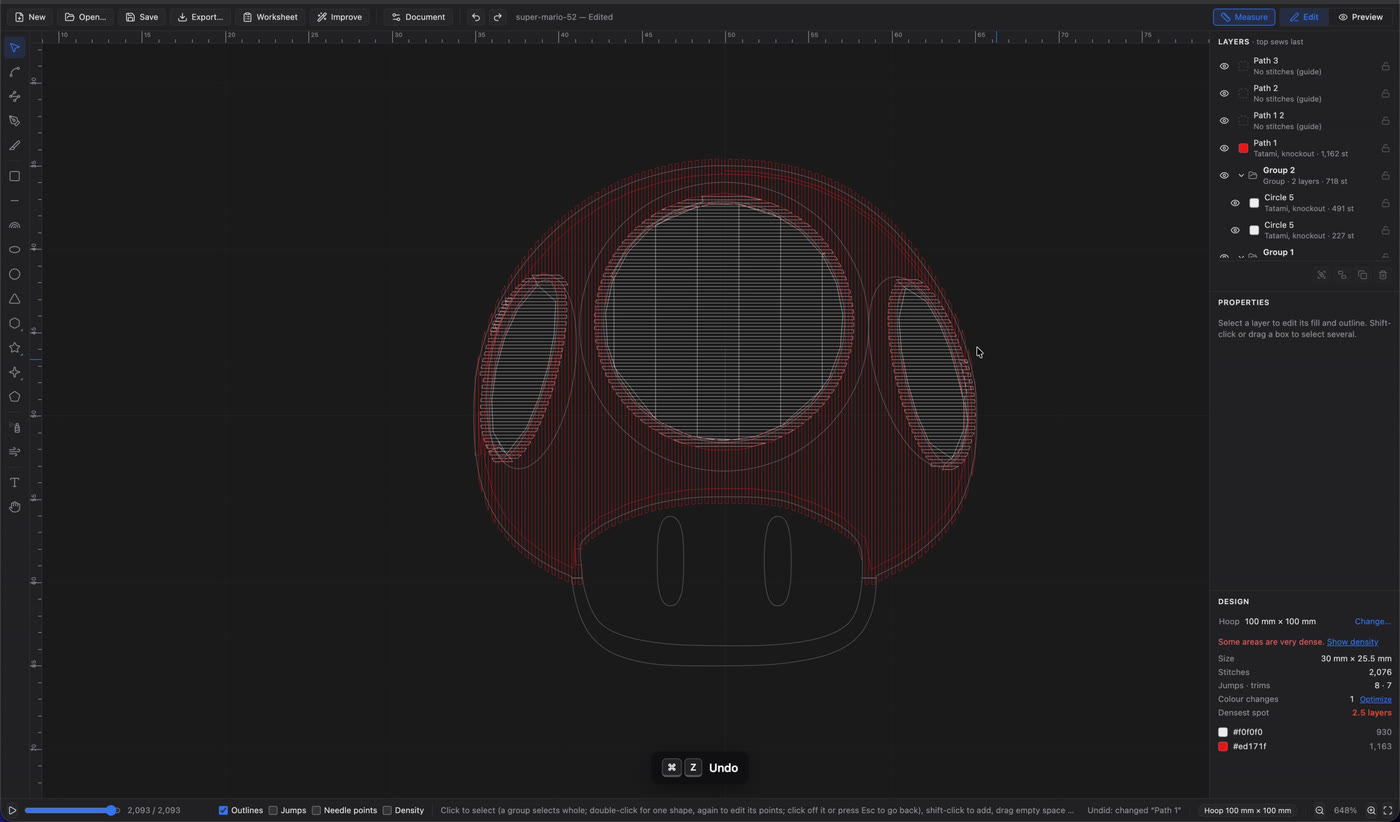
8. Stitch the eyes
The eyes are small and narrow, which makes them a good fit for satin. Select both, change the fill type to Satin fill, and set the thread to black.
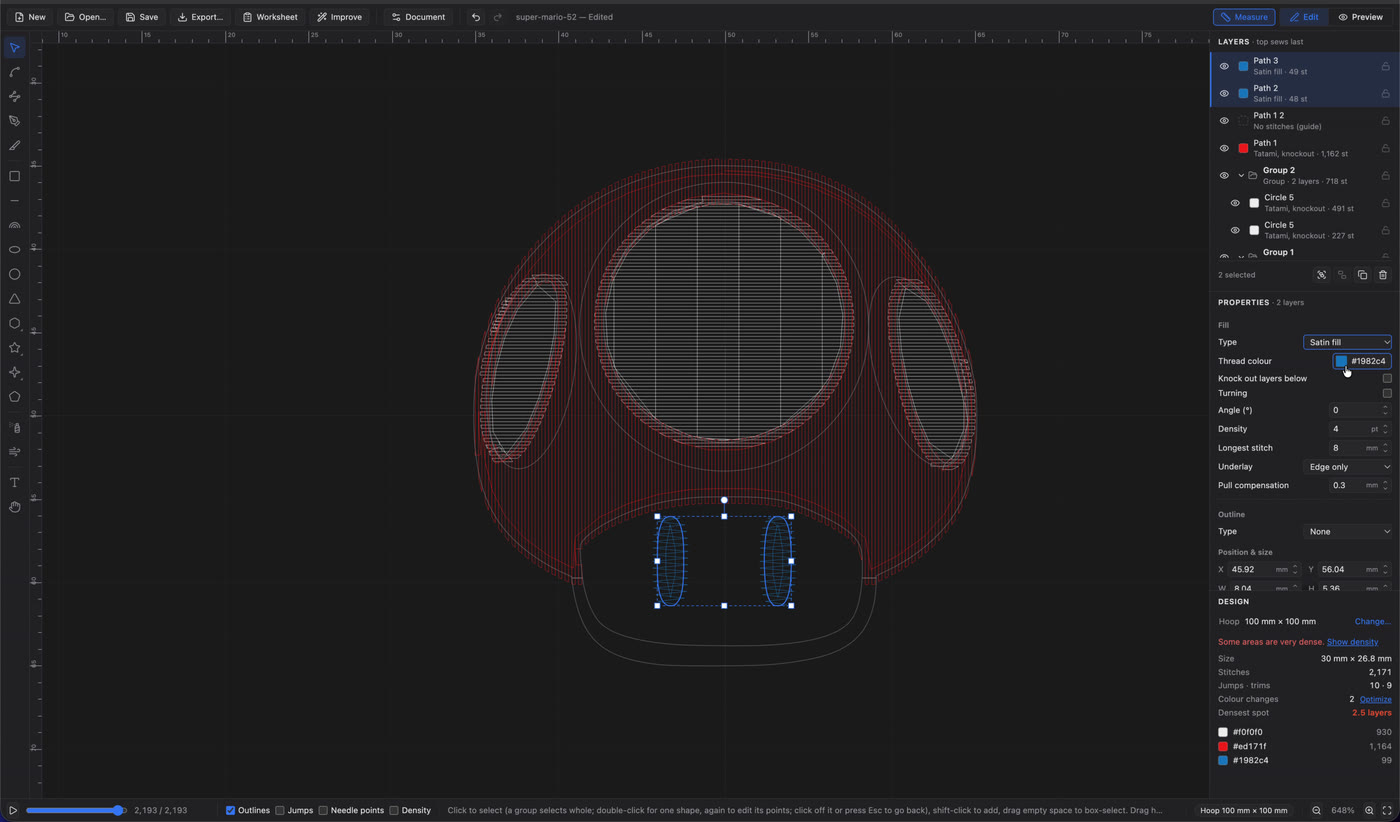
9. Extend the stem
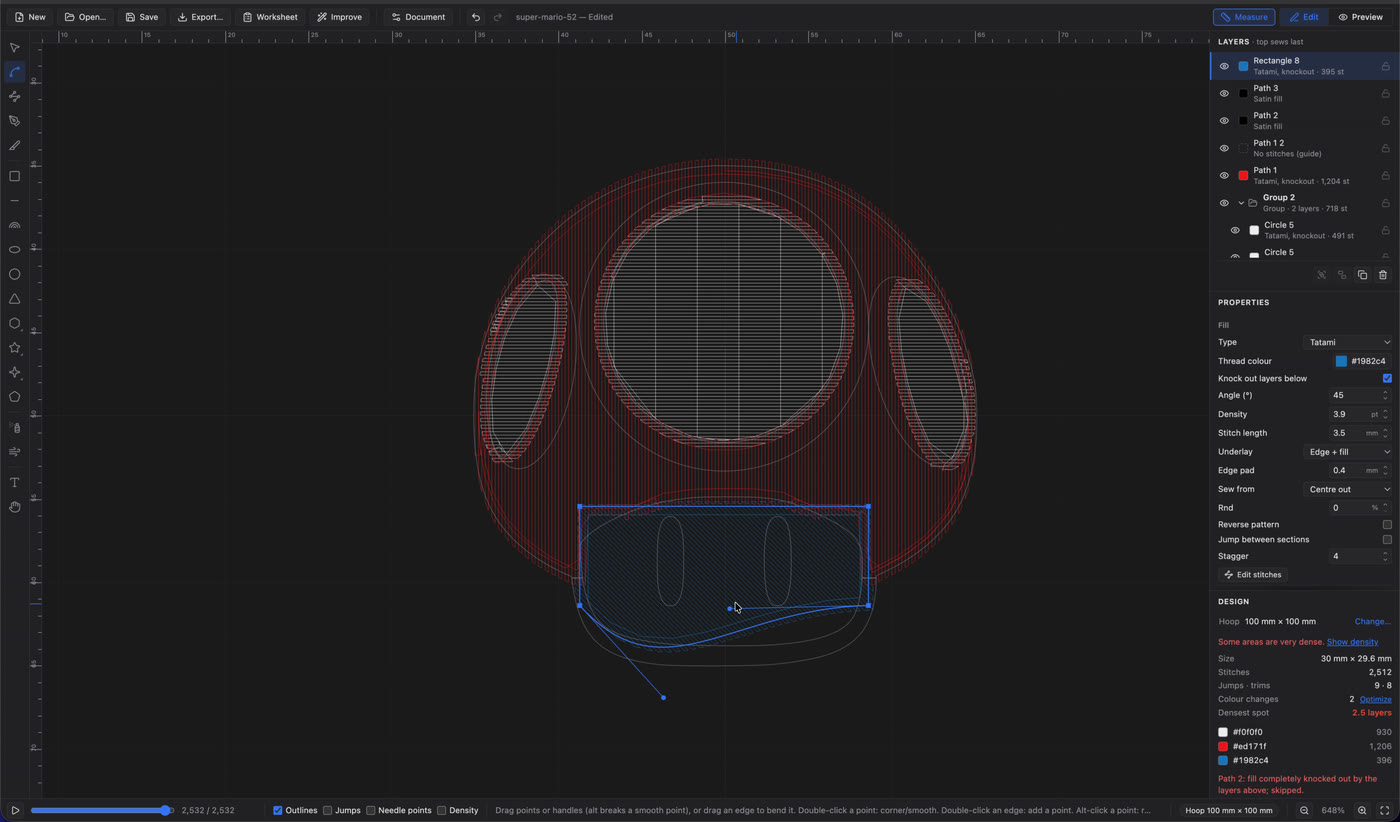
After the cut, the stem only covers the bottom of the design. It needs to reach up behind the cap and around the eyes, or there would be a gap.
Draw a rectangle over the top of the stem, then use Direct Select to bend its bottom edge so it follows the curve.
10. Merge the stem
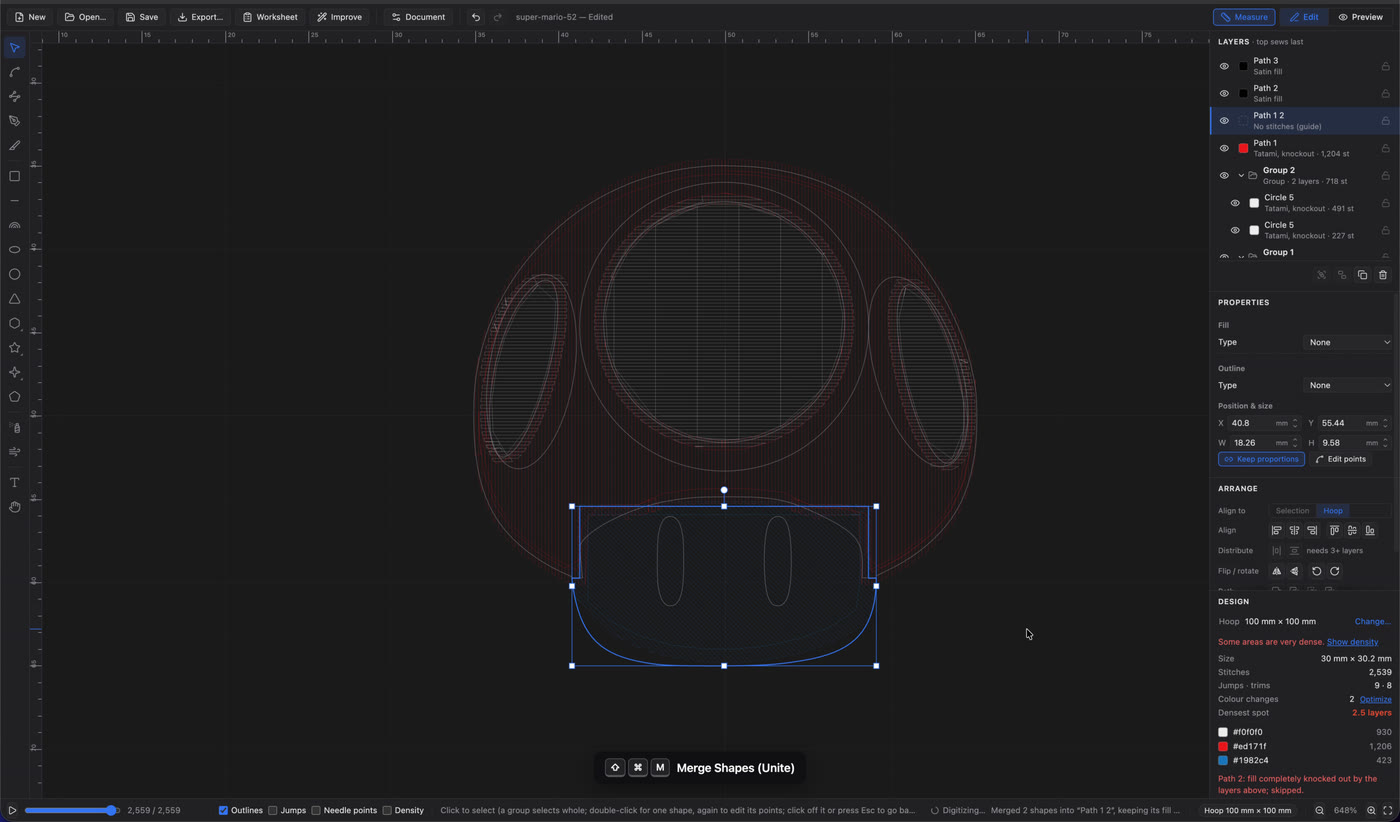
Select the rectangle and the bottom of the stem, then use Merge Shapes (Unite) to turn them into one shape.
11. Fill the stem
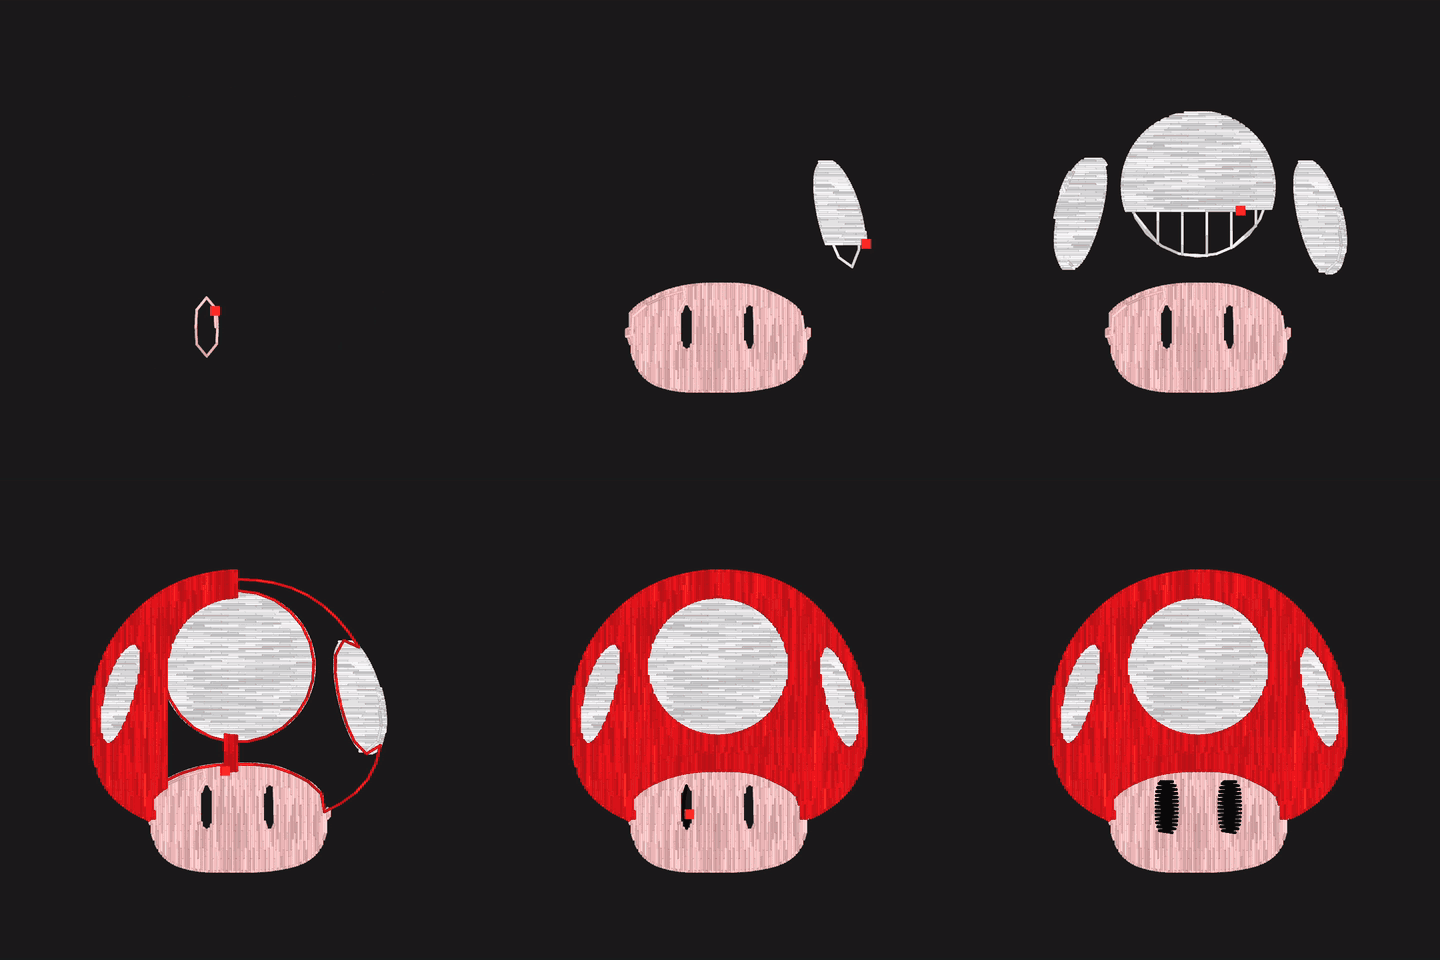
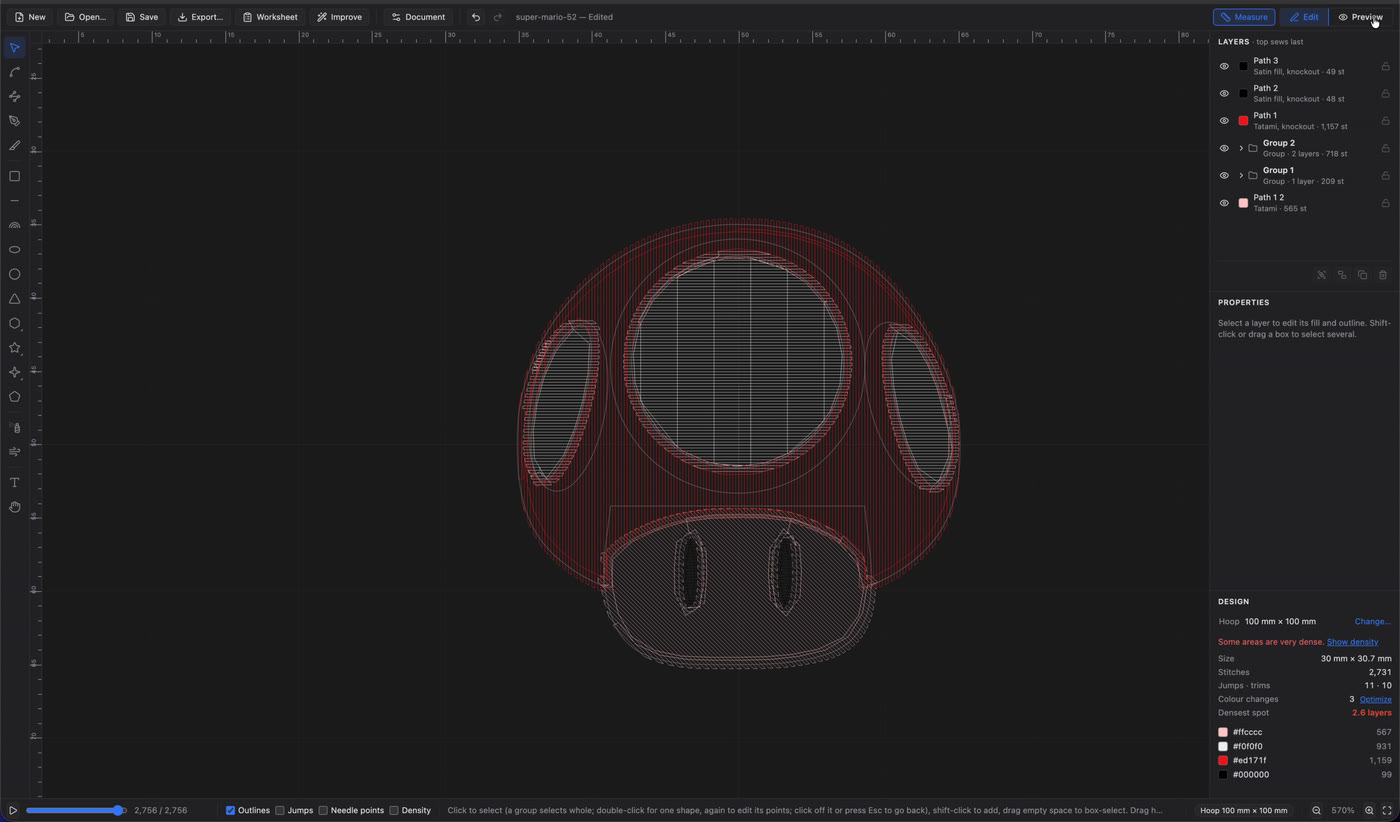
Give the merged shape a Tatami fill and a pink thread. I used Flesh Pink. Then drag it to the bottom of the layers so it sews first, and turn on Knock out layers below for the eyes.
12. Check it in Preview
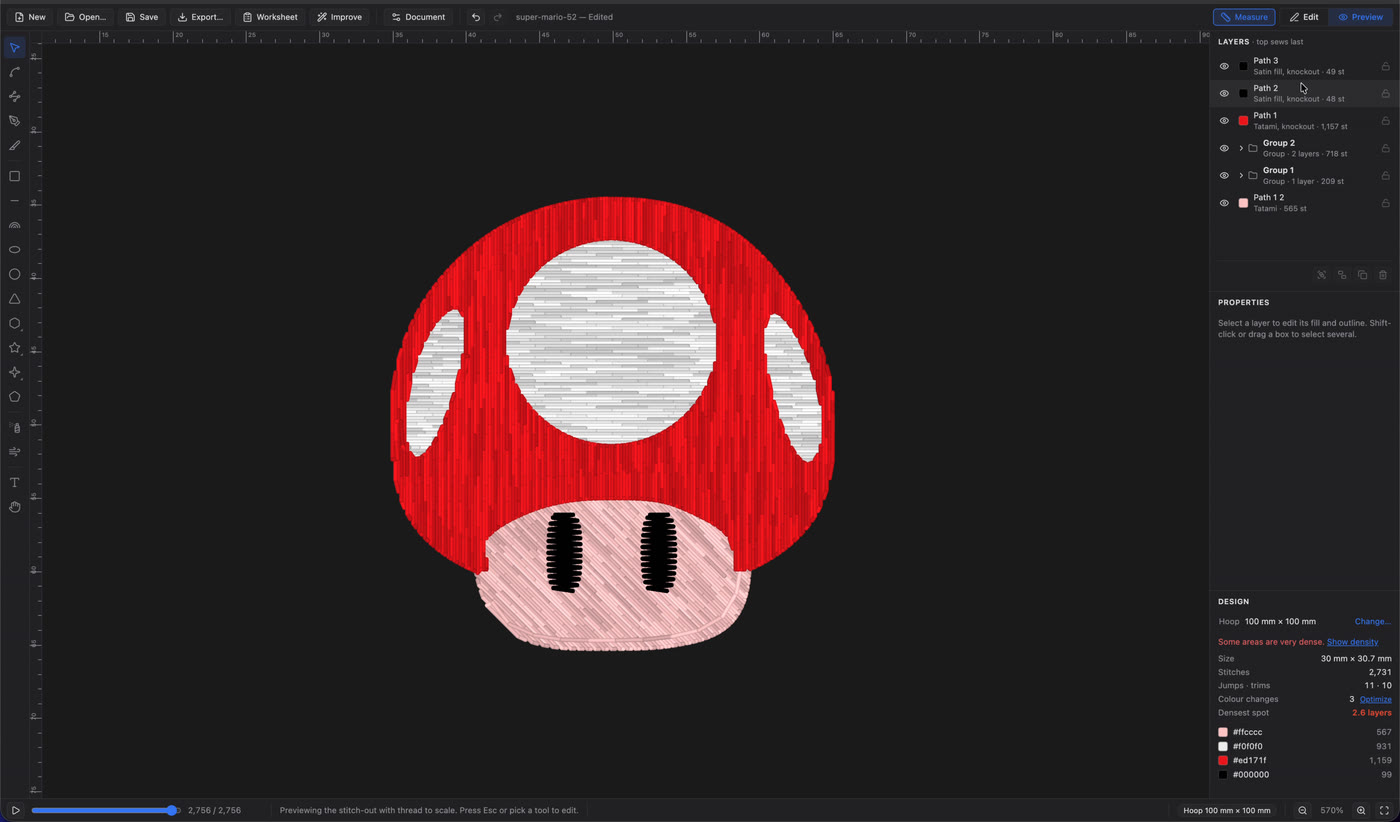
Click Preview to see what the stitches will look like.
13. Fine-tune it
The stem’s diagonal stitches looked a little messy next to the rest of the design. I changed its angle to 90° and lowered the edge pad to 0.3 mm.
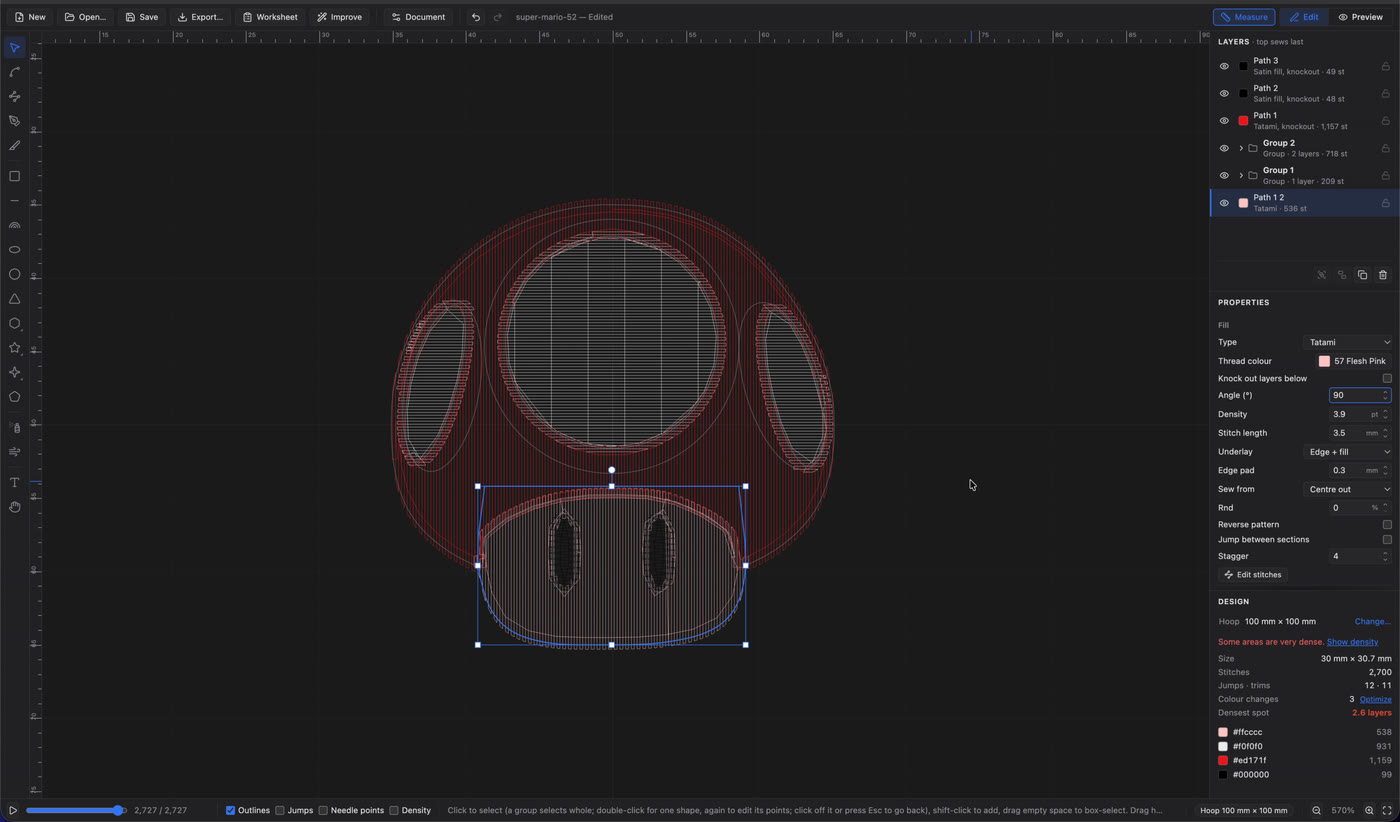
Preview it once more, and the design is ready to go.
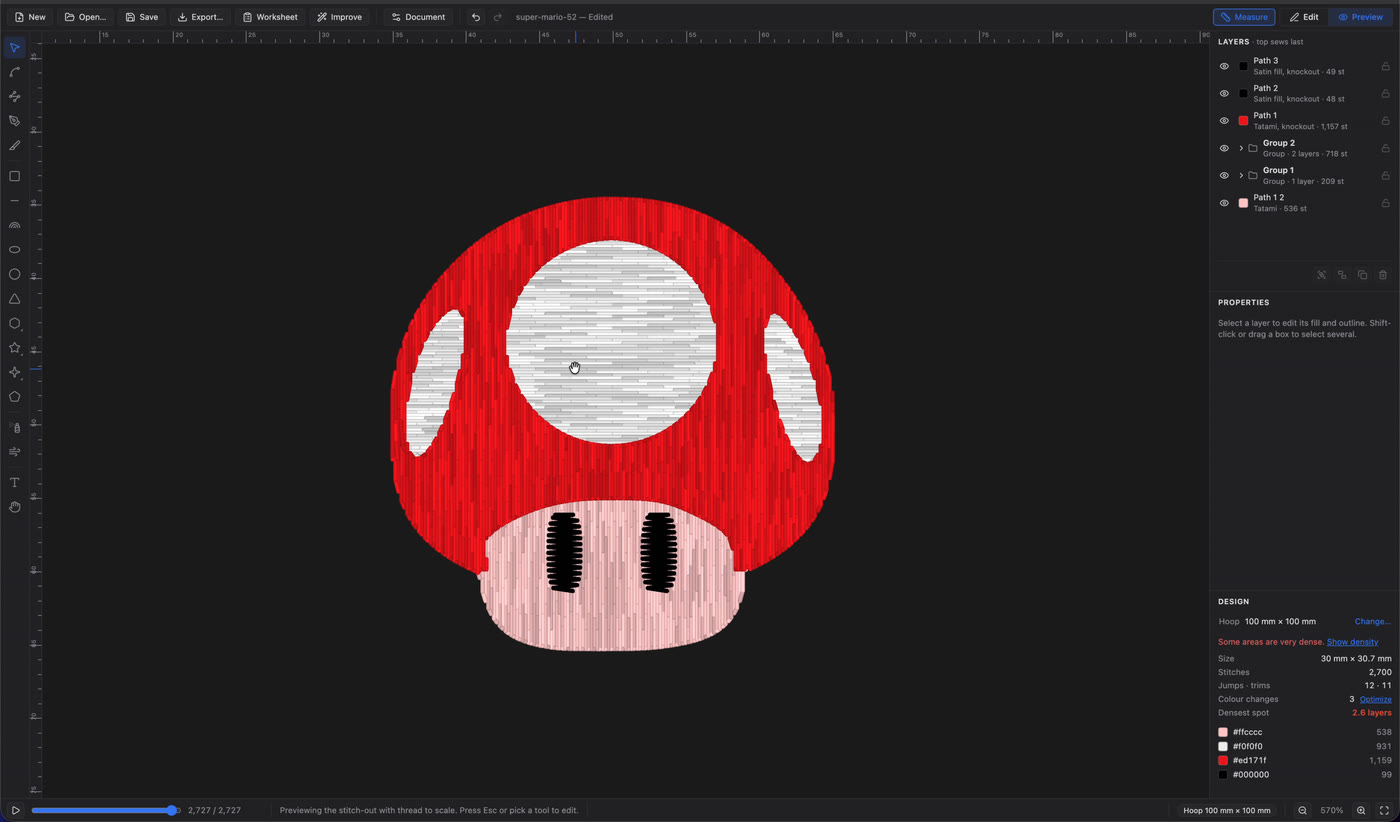
The exact settings for this design are below
The finished design is 30 × 30.7 mm with 2,700 stitches and 3 color changes.
| Layer | Settings |
|---|---|
| Path 1 2 (stem) | Flesh Pink tatami, 90°, stitch length 3.5 mm, edge and fill underlay, edge pad 0.3 mm, sews first |
| Groups 1 and 2 (spots) | White tatami, 0°, sewn before the red, knocks out layers below |
| Path 1 (cap) | Red tatami, 90°, knocks out layers below |
| Paths 2 and 3 (eyes) | Black satin fill, knocks out layers below |